Create a test
How to create a new test in Edulink Assessment, and what the choices in the setup mean.
You set up a new test in six steps. Everything you choose can be changed later from the test's page, so you do not need everything ready before you start.
Open Administered tests
Go to Administered tests in Edulink Assessment(opens in a new tab). This lists every test you administer.
Start a new test
Select New test. The Create a new test window opens, with a bar at the top showing how far you have come.
Move with Continue and Back. Skip all and create creates the test right away, and the steps you have not visited keep their default settings.
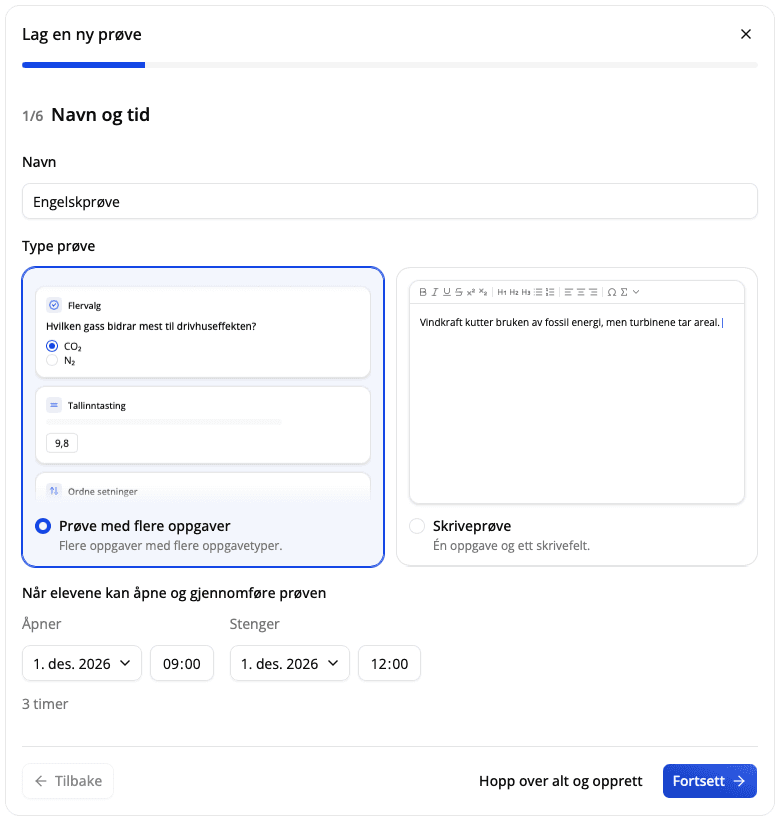
Name and time
Enter a Name for the test. This is what pupils see in their list.
Choose the Type of test:
- Test with multiple tasks: several tasks of different kinds, such as multiple choice, fill-in and text answers. You add the tasks afterwards. See Add tasks.
- Writing test: one assignment and one large writing field, for when you have a single writing task. See Create a writing test.
Choose when the test Opens and Closes. Pupils can only open and take the test in that window. By default the test opens tomorrow at 08:00 and closes at 16:00. The test closes without submitting for pupils, so leave some margin. Individual pupils can get their own window later, see Accommodations for individual pupils.
Pupils
Select Add pupils. In the Select pupils window, tick the pupils who will take the test and select Add pupils. You can search by name, filter by Groups and select everyone shown with Select visible.
The filter helps you find pupils, but the test is not linked to the group. Pupils who join the group later do not get the test automatically. You can add and remove pupils at any time, see Add pupils and teachers.
Teachers
You administer the test yourself. Add colleagues who should administer it too. They can edit content and settings, grade and publish, just like you. Only staff with access to create tests appear in the list.
Security
- Secure browser: pupils must take the test in Safe Exam Browser, which locks the computer to the test. When you turn it on, you also choose Allowed apps, the programs pupils may use during the test. Pupils must have Safe Exam Browser installed before the test day. See Turn on the secure browser.
- Bookmarks: websites pupils get links to in the test. With the secure browser these are the only websites pupils can open. Your school decides which websites you can choose from.
Both are off by default.
Presentation
- Sections as pages: each section of the test is shown as a separate page for pupils. On by default.
- Show points: pupils see how many points each task is worth while taking the test. Off by default.
- Anonymous grading: pupil names are hidden while you grade. Off by default. See Grade tests anonymously.
- Spell check: pupils get spell check in text answers. On by default. Under Default spell check language you choose the language it starts with. With None, pupils choose the language themselves.
Review
Check your choices and select Create test. You land on the new test's page.
The test now exists, but it is not published and has no tasks. Pupils cannot see it yet. Next, add tasks and then publish the test.
Tip
If you close the window before creating the test, nothing is saved. If you have filled anything in, you are asked whether to Discard the setup or Keep editing.